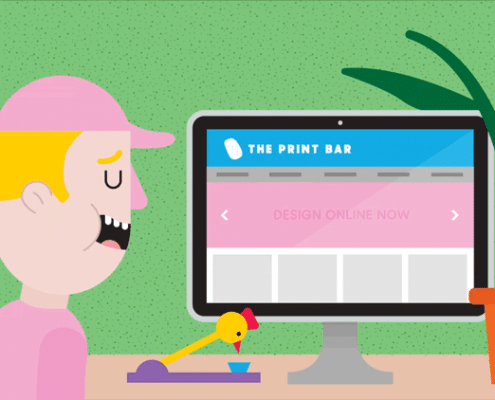
You think you have what it takes to make it in the t-shirt game? Well then step right up, it’s time to show us what you can do.
Welcome to The Print Bar’s animated How To Design Online step-by-step tutorial. On this handy-dandy web page, you’ll find all the info you need to create your own custom printed garment yourself, from the comfort of your own cat’s pyjamas! Hopefully, you have come prepared for this momentous occasion. The humble shirt is the most important part of any outfit and we want to make sure you get it right. Before you get started you should take a moment to look through our works, see our designs and, if you want to know what is going on behind the scenes, be sure to read our blog and hit the Follow button on Facebook, Instagram + Twitter. Many of you have wicked designs and killer pictures itching to be custom printed on choice garments, but first, you better make sure they look good. Our printers individually make each shirt you design with their own hands and admire them with their very own beautiful blues. You don’t want to let them down, do you? Alright! Let’s make you a shirt!
 Firstly, CONGRATULATIONS!! You’ve successfully completed your first mission – finding us and our website! Now you’re here it’s going to be super easy to create + print together.
STEP ONE:
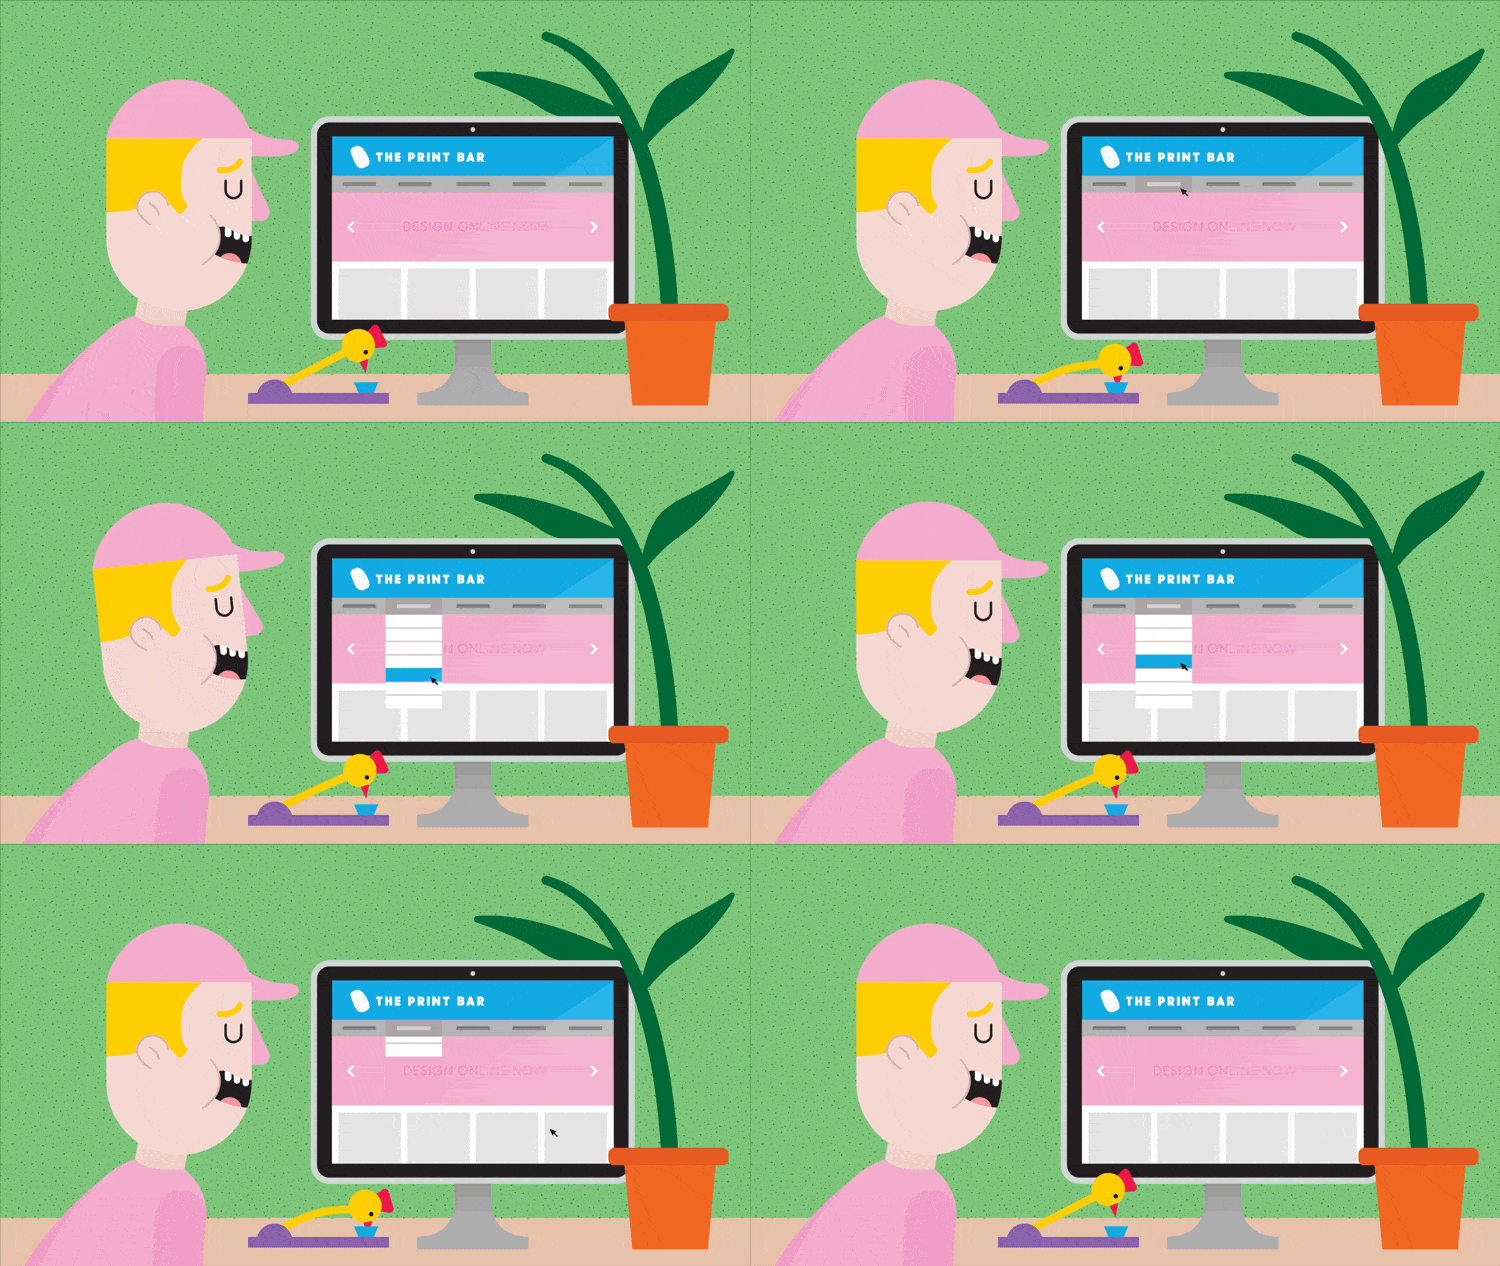
You will find all the products you need and more under the Design Online Now link on our home page. Simply hover your mouse over the heading and a drop-down menu will appear featuring all the products, categories and brands you can choose from. You can also find pillow cases, tea towels, mugs, aprons, jumpers and much more. Just pick already!
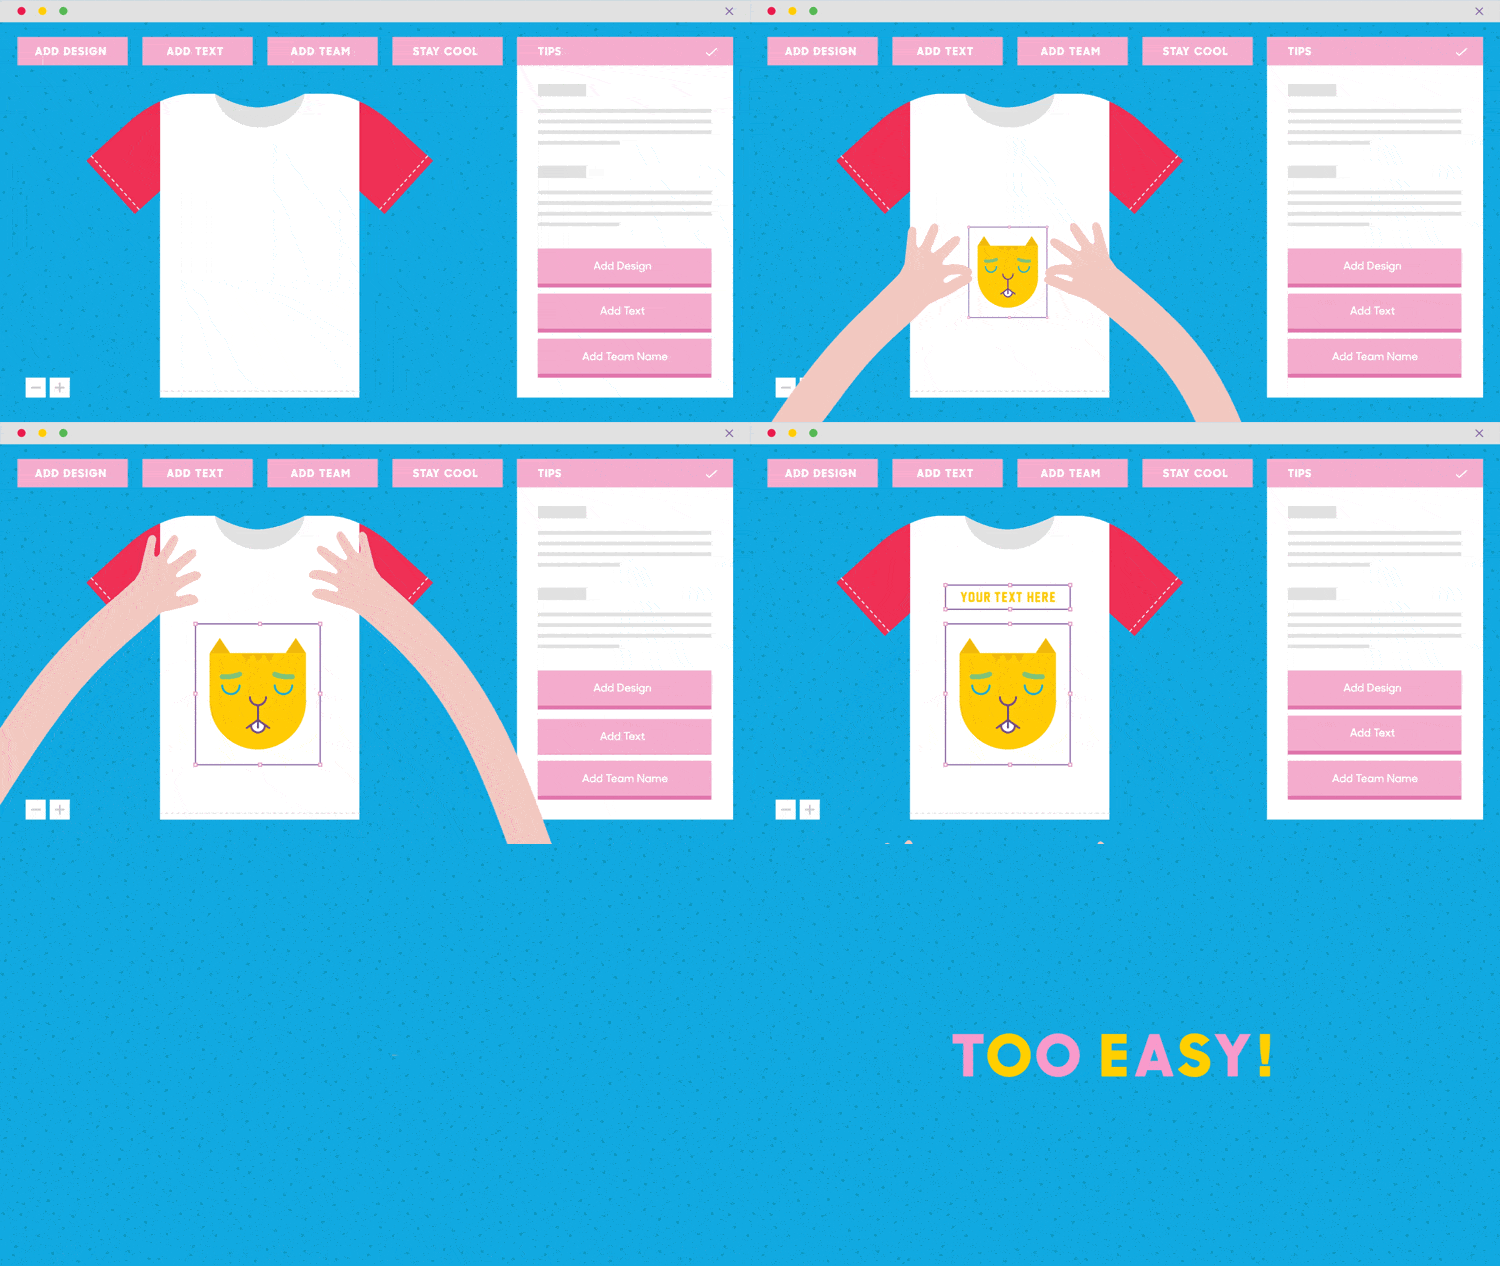 Now that you’ve chosen your canvas for creation (aka garment/product!) it’s time to get down to business and begin creating your masterpiece.
STEP TWO:
So you’ve clicked a product and the online designer is beginning to open! Before you hastily close the informative pop-up window open before you, you should definitely give it a read. The STEP TWO window details all the necessary information about:
- – Achieving the best print result
- – Which file formats to use + how to use them
- – How to remove a background in your image; and
- – Your order time frame options (rush or regular)
Plus it also helps you move into the design phase, with options to either
- – Add a design
- – Add custom text; or
- – Add a team name
At this point you may also be thinking about how many shirts you are ordering. If you’re needing 25 or more shirts then you are eligible for a Bulk Discount Quote. Visit our Bulk Discount Information page, or give us a call / send us an email. We can give you some personal attention and sincere praise.
 Now we’re ready to have some real fun! Welcome to The Print Bar’s interactive, online designer specifially for custom printers + creative geniuses (aka YOU!) We’ve broken our top design tips into sections to pass on our insider tricks so you and your new custom printed tshirt or garment is fully pro!
STEP THREE:
ARTWORK SIZE + RESOLUTION A good rule of thumb for uploading any image or design: “bigger is better”. Don’t let anyone tell you otherwise – size does matter! Click “Add Design” and simply select + upload your chosen image. If you have a small quality/low-resolution file you wish to use then the chances are your print may turn out poorly and be very blurry – but don’t panic! We have an inbuilt image quality meter which goes from green (high quality) to orange (medium quality) to red (very low quality!) so you can see this change when you upload an image / increase your image size. If your image is in the red when you make it larger we recommend:
- – Sourcing a new image (Google search rules!)
- – Asking your designer to provide a larger file for print (specs below)
- – Giving us a call / emailing our team to chat about your options
IMAGE FILE FORMAT BEST FOR PRINTING? If you’re creating your own artwork for print we recommend exporting your image as:
- – PNG file with transparent background
- – RGB colour mode
- – 300 DPI
- – Scale artwork to fit an A3 artboard
You can also check out our Top Ten Design Tips blog post or our Top Free Photoshop Resources for more handy hints here.
ADDING TEXT + TEAM NAMES/NUMBERS Just want to add a catchy slogan to your tee? We got your back! You can add custom text anywhere to your shirt, change the colour and even choose from a plethora of fancy fonts to give your textual t-shirt some panache! Just click ADD TEXT or ADD TEAM NAMES and follow the prompts. Once you’ve added text/team names to your garment, you can use the controls on the right-hand side to change the text colour, font and even the size and position of the text (pictured below)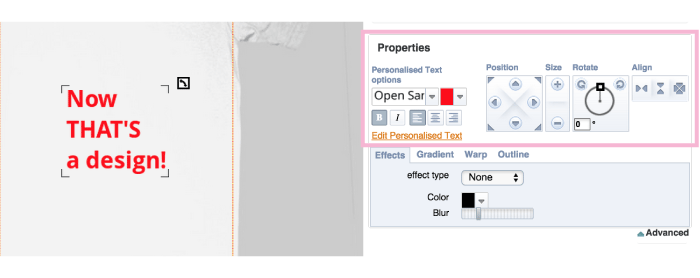 Using the online designer you can also:
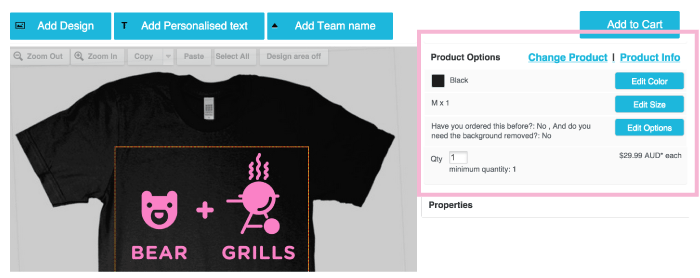
- – Change garment brand, colour and size
- – Add multiple designs
- – Let us know if your design is a reorder / if you require background removal for your artwork
- – You can also save your layout and if you want to come back to it later; and
- – You can also email your design
 If you haven’t yet registered with us then this will be the time to do so. This option is at the top of the right of the page. If you’ve got a big idea but need some help creating your design just shoot us an email – we’d love to help you out!
 Now that you’ve got your design sorted it’s time to make sure you receive your order when you need it!
STEP FOUR:
We have a range of different regular + rush methods available, which you can learn about on our Shipping Information page, but we’ve included a short run down below: REGULAR ORDERS + SHIPPING / PICK UP Our standard orders take 7 – 10 business days to print, and if you are in Brisbane you can choose to come pick-up your shirt from us personally or, if you don’t wish to come high-five the team who made your one-of-a-kind shirt, we can deliver it to your location in Australia for an $8 capped shipping fee. I’M IN A RUSH! If you have left it to the last minute and need your shirt post-haste we also have a 3-Day Express / 3 Day Rush Pick Up or an Overnight Rush / Same Day Rush Pick Uporder option so you can receive your shirt next day. Just do us a favour and give us a call to see if your chosen shirt is available for an express delivery. You’ll be able to select from our shipping options once you have moved on to “Checkout”.
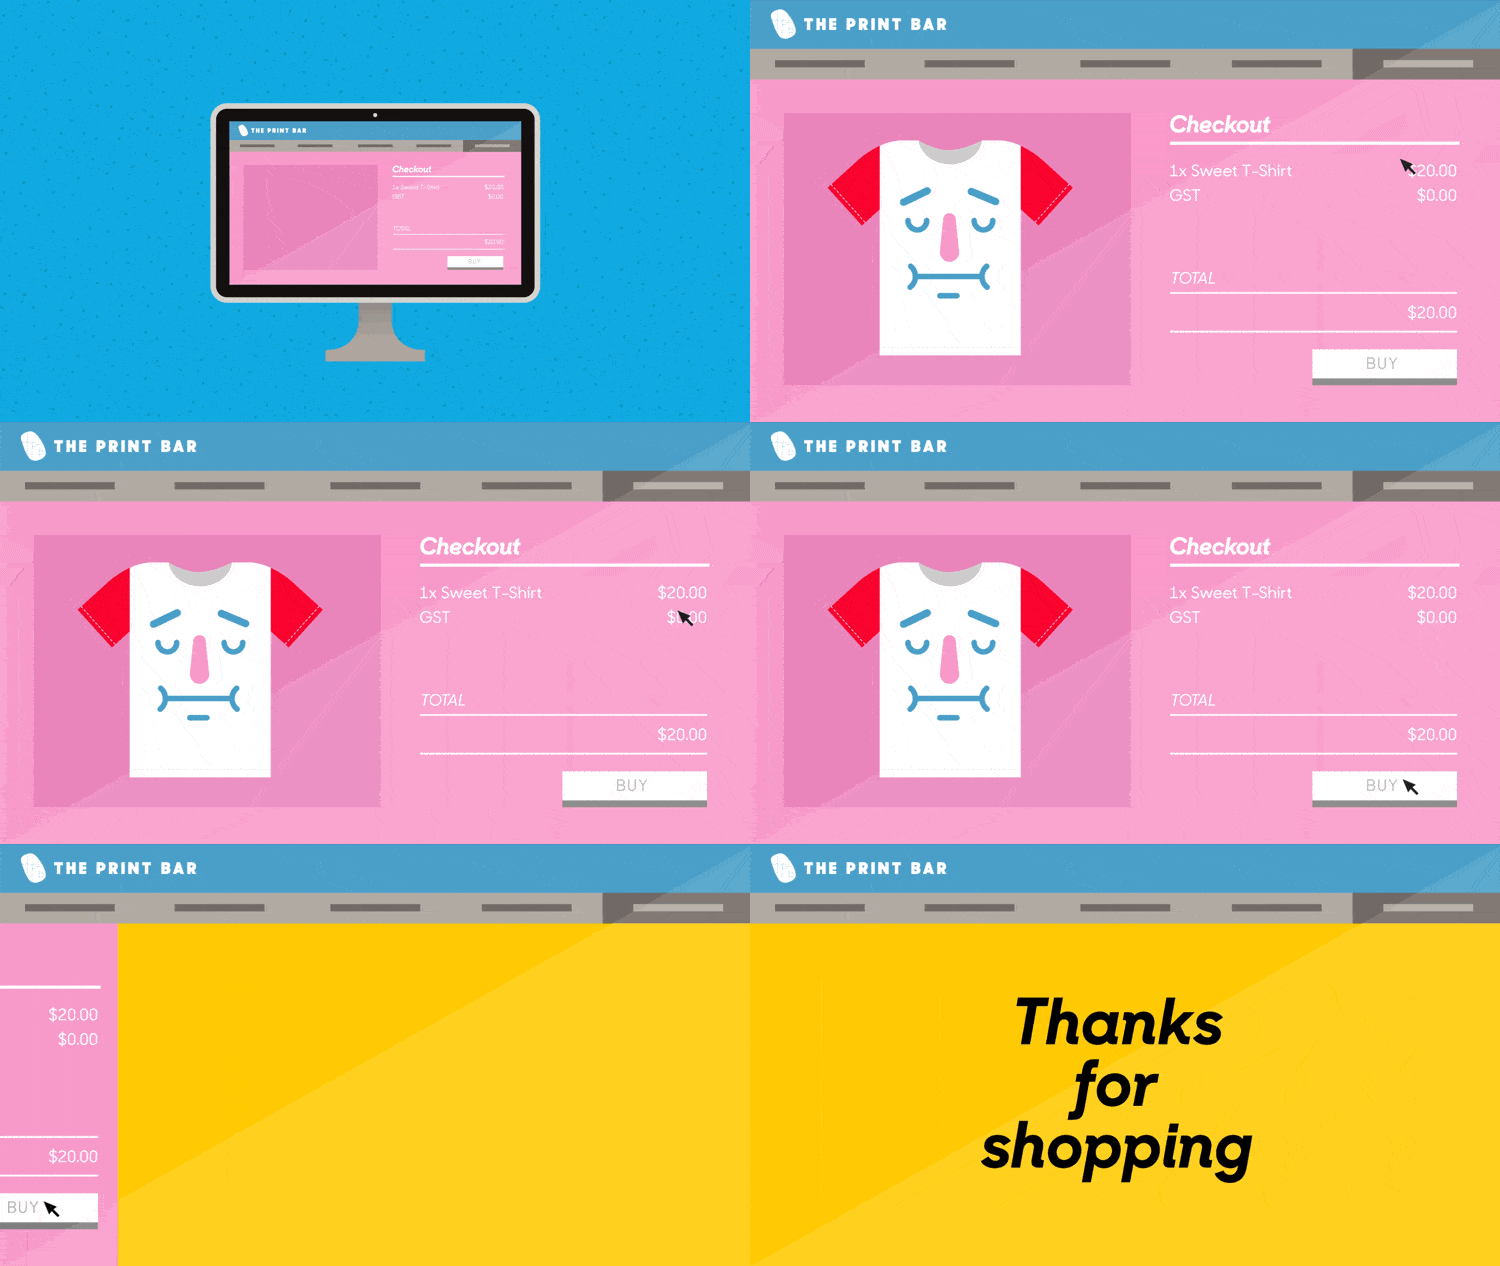 Congratulations! You’ve almost brought a brand new design to life!!!!!! We’ve just a few final thoughts before we send you on your way and your mad creation becomes a reality.
STEP FIVE:
If your shipping address is different to your billing address then please make sure you have changed this option. The last thing we want to do is send your shirt to the wrong person. What if they are not honest and get to wear your sweet threads without putting in any of this hard work? That just won’t do. Before you proceed to the payment method you will also see an option which allows you to add notes to your order. If you have any instructions about your order regarding background removal, delivery notes or a deadline for delivery (unless it’s a rush) then you can include it here. This will help us make sure we give you exactly what you need. From here it is a matter of payment and confirmation. We think you can handle it from here.
 Thanks for ordering with The Print Bar. Be sure to wear your shirt with pride and make sure to @theprintbar / #theprintbar on Instagram + Facebook – we love seeing the faces of creative peeps like yourself and fantastic new homes our custom prints get sent to!

